If you’ve ever shot a video in low light or recorded sound with a substandard microphone in a challenging environment, you’ll know all about video and audio noise. Noise is a video editor’s nightmare, mainly because it’s difficult to get rid of it. You often won’t even realize there’s noise in your audio or footage before you start the post-production process. Who wants a lengthy reshoot at that point?
Thankfully, DaVinci Resolve has some great tools to effectively reduce noise in both audio and video. Today, Motion Array will walk you through the basics of noise reduction in DaVinci Resolve.
Summary
What is noise in video editing and why is it a problem?
Lights, camera, action! But wait, what’s that buzzing sound? And why does the video look like it was shot through a swarm of angry pixels? If your footage or audio should’ve been clear and crisp, but seems to have odd, sharp angles or artifacts, it’s called noise.
Noise isn’t always bad. In fact, you’ll find many effects and filters that deliberately apply noise! You can even see some artistic uses of noise for still photography, here — many of these same techniques work for video, too. However, there’s a big difference between choosing to use noise artistically and noise just appearing in footage or audio you wanted to be clean.
Noise reduction is important in video editing for both audio and visual elements. It helps improve the overall quality of the final product.
In audio, noise can be unwanted sounds like background hums, static, or echoes. It’s often caused by low-end equipment or poor shooting conditions, like wind or traffic. These sounds can make it hard to hear what’s important. Audio noise reduction removes these distracting sounds, making the main audio clearer.
For video, noise often looks like tiny specks or a grainy texture on the image. Again, this happens when filming in poor conditions, like low light. It can also occur when a high-quality video is compressed too much. Visual noise reduction smooths out these imperfections, resulting in a cleaner, more pleasant picture. If you know you have to shoot at night, these tips may help you get a better shot.
Editors use noise reduction to help viewers focus on the content without distractions. It’s like cleaning a window — you want people to see through it clearly and not notice the streaks on the glass. However, it’s tricky to get right. Too much noise reduction can make things sound unnatural or look too smooth. We’ve all seen Instagram pictures over-filtered until the person looks like a cartoon. That’s actually an example of noise reduction taken too far.
The video editor’s goal is to find a balance between making the video look and sound better, but still natural. In the end, good noise reduction makes videos easier to watch and enjoy, whether they’re Hollywood movies or home videos.
Part 1: How to remove video noise in DaVinci Resolve
Video noise reduction in DaVinci Resolve is usually applied on the Color page. You’ll also find some useful tools, such as effects, on the Edit page. Playing with these options will help you find the right balance to make your footage look its best.
To remove video noise in DaVinci Resolve as an effect, select it from the Open FX panel in either the Edit or Color pages. Now, drag it onto the selected clip or node as needed. Video noise reduction can also be applied through the Motion Effects panel on the Color page.
Unlike many of the other effect guides and tutorials you’ve seen, there’s no one right way to reduce noise in DaVinci Resolve. Instead, you’ll play around with the noisy footage and find a great combination of smoothing effects to remove those pesky pixels. If you’re new to video editing, this might seem frustrating, but it gives you a lot of creative freedom and editing power, so don’t be shy to try new things.
It doesn’t matter which way you apply video noise reduction in DaVinci Resolve. You’ll be given 2 main options: temporal noise reduction and spatial noise reduction. Each targets the noise in different parts of the image, and can be used in combination or alone.
Temporal noise reduction
This method of reducing noise in DaVinci Resolve examines the number of frames you choose and compares the noise across them. It then decides what unwanted noise can be removed.
Temporal noise reduction is best used in areas of the image with no movement. The Temporal Threshold settings affect how much noise reduction is applied.
Spatial noise reduction
Spatial noise reduction analyzes the pixels in a defined radius to work out what’s noise and then smooths it out frame by frame. Use the Mode and Radius settings to adjust the quality of the analysis. The Spatial Threshold settings then determine how much is applied.
It’s important to note that video noise reduction in DaVinci Resolve is very resource-intensive. It’s best left as the last effect you apply. This will let you set the bones of your project without a heavy filter slowing down other actions. You can then do a noise-removal pass when everything is ready.
Often, it’s worth using the render-in-place option to help with particularly challenging clips. This will help you achieve real-time playback on noise-reduced clips that would otherwise bring your computer to a halt.
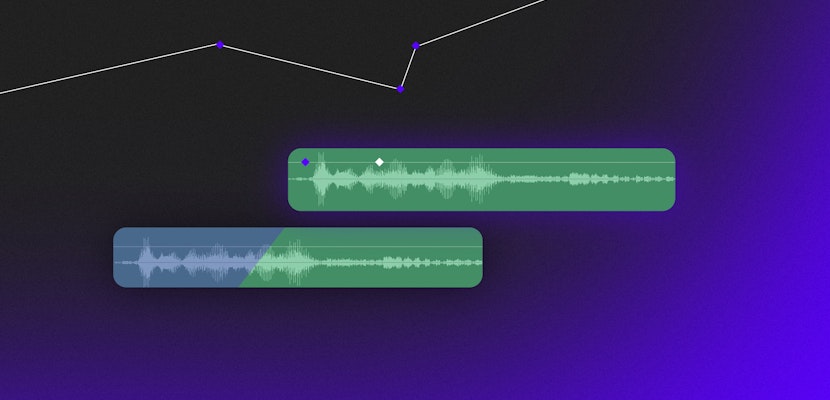
Part 2: Audio noise reduction in DaVinci Resolve
Now you know how to remove video noise in DaVinci Resolve, let’s clean up your audio.
Noisy audio is a common byproduct of low-quality microphones, challenging recording environments, or incorrect recording settings. It’s not always possible to save these audio clips: As with all noise removal, you need to be realistic about what can be done. Shooting correctly, with good equipment, and the best possible conditions will always be best.
However, the noise reduction tools built into Fairlight in DaVinci Resolve are pretty good. The filter itself has many options and can be complicated, though. If you’re an advanced editor, this gives you a lot of scope for audio cleanup, but it can be scary to face as a new editor.
For this tutorial, we’ll stick to its most handy and simple function — auto speech mode. This will give you a basic clean and help with background noise removal in DaVinci Resolve. Here’s what to do:
- Go to the Fairlight page.
- In the Mixer under Effects, click and add Noise Reduction or select Restoration > Fairlight Effects > Noise Reduction. Depending on which you choose, the option will add the filter to the entire track or bus.
- You can apply the effect to individual clips by dragging it from the Effects panel onto the selected clip. Select the Auto Speech Mode, and the filter will do its magic and reduce the noise in your clip automatically.
- To adjust how much noise reduction is applied, use the Dry/Wet settings under Output.
Remember, as you gain confidence, you can play around with other settings and effects to help clean up your audio (and video) as best you can. However, trying to shoot the highest quality footage or record great audio in the first place should always be the goal. You should also maintain your microphone to ensure the best possible audio quality. Noise reduction in DaVinci Resolve can only do so much.
Noise in video or audio can really affect the quality of your finished video and can be challenging to remove. Thankfully, noise reduction in DaVinci Resolve will help you get the best results with the footage or audio you have. With this handy tutorial bookmarked, you can quickly reduce and fix static noise issues in your audio and video footage. Motion Array has plenty of fun DaVinci Resolve tutorials to explore if you want more inspiration.