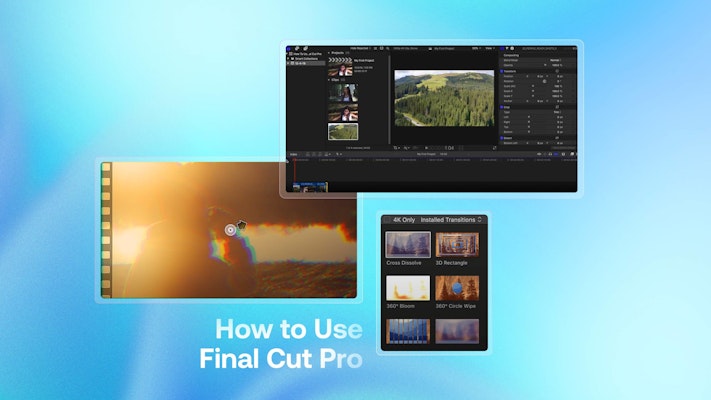
The interface can seem a little daunting if you’re new to Final Cut Pro. Don’t be intimidated! You can learn the basic editing techniques you’ll need in just a few minutes. This quick Final Cut Pro tutorial for beginners will teach you exactly how to use the software, even if you’ve never opened it before.
Summary
How to edit
Over the next 8 steps, Motion Array will walk you through opening Final Cut Pro for the very first time right through to sharing your finished video. If you’d like to follow along, you can download the free stock footage from Motion Array that we’ve used in this tutorial.
By the end of this Final Cut Pro guide, you should be able to use what you’ve learned to perform basic edits on your own projects.
1. Create a new project and import media
Final Cut Pro organizes its content into Libraries, Events, and Projects. A Library is the highest level. You’ll generally only need one, unless you work on many unrelated projects at once.
Inside Libraries are Events, which contain media (video clips, images, and songs) and Projects. A Project is your video’s container and stores all your editing decisions as you work. When you first open Final Cut Pro, a Library and Event should be created automatically, so you just need to create a Project.
- Open Final Cut Pro X. The main interface should appear after a few seconds.
- At the top menu bar, go to File > New > Project (or Cmd+N) to create your new project. Type in a name and select Use Automatic Settings.
- Then select File > Import > Media (or Cmd+I) at the top menu bar. This will bring up the Media Import window, where you can select all the audio and video files you’d like to import into your project.
- Select all the media you’d like to include in your project and press Import Selected.
- Close the Media Import window.
2. Add trimmed clips to your timeline
You should now see thumbnails of the media you imported. To create your video, you’ll need to arrange and trim that media. The Timeline shows previews of all your footage and file names to help you stay organized.
- In the Browser, you can set the In and Out points for each video clip. Hold Option, click the thumbnail, and drag it with your mouse. A yellow outline should appear on the clip, showing the range that’ll be added to your video in the Timeline.
- Drag your clips from the Browser into the Timeline in the order you’d like to play them. It works from left to right. You may want to start with an establishing shot to set the scene before diving into your video’s subject matter. You can make a mood board to help you plan your video.
- Trim each clip by moving your cursor to the inside edge of the clip’s thumbnail in the Timeline. You should see the Trim tool appear in place of your cursor. You can drag forward or backward to adjust the ending of the clip. Do this on both sides of each clip you added.
- If you’d like to rearrange the order of the clips, you can drag and drop any clip into a different spot. Final Cut Pro’s magnetic Timeline will automatically insert and arrange the clips for you. Make sure that your arrangement doesn’t move any clip on top of another one vertically.
- Move the playhead to the beginning of the Timeline and press Play (the keyboard shortcut is the Space Bar). You can see a preview of your video in the Viewer.
3. Add text and titles
You’ll find plenty of titles in Final Cut Pro bundled with the program. These are listed in the Browser. The Browser was covered in Step 1 of this Final Cut Pro tutorial. You can easily add these preloaded titles to your video by dragging them into the timeline.
- Above the Browser, click the Titles and Generators sidebar icon to open it (or press Option+Cmd+1).
- Choose the title you’d like from the Title library and drag it onto the Timeline. This time, place the title above your other video clips. You’ll only be able to see it if it’s on top. Otherwise, the top clip will hide it.
- Trim the beginning and end of your title as you did with your video clips in Step 1 of this Final Cut Pro guide.
- Move the playhead so you can preview your title in the Viewer. Double-click the text and type to replace it with your own. You can also adjust your title by clicking the Title Inspector icon at the top right of the screen.
If you’re bored of the default titles, there’s a whole world of Final Cut Pro title templates for you to explore. You can also create your own unique titles. However, that’s beyond the scope of this Final Cut Pro tutorial for beginners.
4. Add transitions
When it comes to transitions, sometimes less is more. There’s nothing wrong with a hard cut between 2 clips, so try to use transitions subtly and where they make sense. Two great uses for transitions are showing the passage of time or moving from one scene to the next.
- Open the Transitions browser by clicking the icon (or you can press Ctrl+Cmd+5).
- Choose a transition and drag it between any 2 clips. This will add an animated transition between them.
- You can adjust the length of a transition by dragging its edge inward or outward.
- If you’d like to customize your transition, you can open the Inspector (Cmd+4) and make adjustments.
5. Add effects
Now that you’ve completed a basic arrangement in your timeline, you can add a little production value with built-in effects.
- Click the Effects icon to open it (Cmd+5).
- Browse for the effect you’d like to add. You can preview effects by skimming your mouse over the thumbnail.
- Drag your effect onto the clip.
- Next to the Effects icon, choose an effect and drag it between 2 clips. Again, it will add an animated effect between them.
- If you’d like to customize your effect, you can open the Inspector (Cmd+4) and make adjustments.
6. Add music and audio
You can add your own music by importing it. Importing audio is done the same way you added videos in Step 1. In this tutorial, however, you’ll use some of Final Cut Pro’s built-in tracks to see how it works. These are all royalty-free, which means you won’t have to worry about licensing like you would with many songs.
- Click the Photos and Audio sidebar icon above the Browser to open it. You can also use Shift+Cmd+1. Select Sound Effects.
- Type in Jingles to see all the songs available in the software. Press the small Play button to preview them.
- When you find a song you like, drag it to the Timeline below your video clips. The song’s waveform will appear as a green audio track.
- Shorten the song so it’s the same length as your video track in the timeline.
Pro Tip: You can use the song’s visual waveform as a guide for cutting your video clips on the beat.
- If you’d like to adjust your song, select the clip and open the Inspector. Here, you can adjust the volume and EQ.
Back in the Timeline, make the song fade out by pulling the Fade Handle at the end of the green audio clip.
If you can’t find the right track in Final Cut Pro, you can also download quality royalty-free music from Motion Array. Here’s how to sync your audio with your video.
7. Color correction
Next, you’ll be white balancing your video using Final Cut Pro’s built-in Balance Color tool. This will remove any color casts. It’s a quick and easy way to bring out the best in your footage. This is the last step in this Final Cut Pro tutorial, so you’re almost there.
- Highlight all the video clips in the Timeline. You should see a yellow outline around them.
- Click the Enhancements icon below the Viewer to open a dropdown menu.
- Select Balance Color or Option+Cmd+B.
- You should notice an improvement in the colors and contrast of all your video clips.
8. Share your movie
You’ve done it! With the help of this Final Cut Pro tutorial for beginners, you’ve made your first video. You’ll soon get more confident as a video editor. These tips from Motion Array’s YouTube channel will help.
Now that you’ve completed your project, it’s time to share it with the world.
Final Cut Pro has built-in export options for sharing directly to YouTube, Facebook, Vimeo, and more. For this tutorial, you’ll only create a high-quality Master File.
- Click anywhere in the Timeline.
- On the top menu bar, select File > Share > Master File.
- Click Next, and choose a location to save your output video.
- Rendering your final video may take a few minutes. You can check progress by clicking the Background Tasks icon at the top of the screen.
When the rendering is complete, your new video should appear. You can share this Master File anywhere, but it will be pretty large, so you may want to compress it first.
Congratulations, your movie is complete! You’ve learned to import clips, add them to the timeline, and add transitions, titles, effects, and music. As a beginner, that’s all you need to build your video editing power. As you grow your skills, you can change the sequence of steps for different projects.
Of course, there’s still much more to learn. Plus, tons of great add-ons and plugins can make Final Cut Pro even easier and more powerful to use. If you’d like to take a look, head over to the Motion Array library. There are thousands of downloads available, and fun premade effects, transitions, plugins, and presets to add to your collection. We hope you’ve enjoyed this Final Cut Pro tutorial for beginners.


