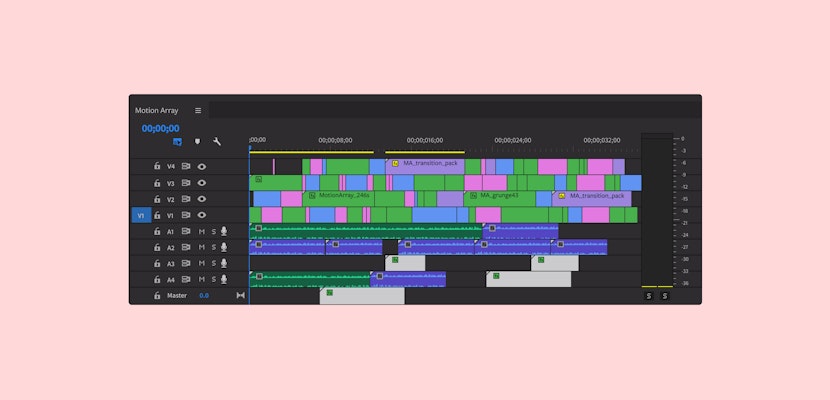
In this tutorial, we will show you some easy to follow tips and tricks that will help you get things done faster in Premiere Pro and with great results. This tutorial is for beginners that want to develop their skills and some advanced editors trying to be more efficient in their workflow.
We’ll walk you through an entire edit in less than 15 minutes with simple but tangible results. You’ll be able to replicate these easily in your next video editing project. Let’s get started!
Summary
Tips to Become a More Efficient Video Editor
1. Automate to Sequence
Let’s say you have a music track on the timeline. Listen to it and, we’re sure, there will be pretty wonderful moments when your foot starts to tap, that’s a pretty good place to transition between your clips. Here’s how to do that using Automate to Sequence:
- To begin, make use of markers on the beat. Simply, press the Home button from your keyboard to go to the beginning of the timeline and play the music. Next, hit M key wherever you want to add a cut (ideally at the moment where you are enjoying the music the most) to generate some markers.
- Next, press Home on your keyboard to go to the beginning again. Then select the video clips you want to add the music too.
- Now, click on Automate to Sequence from the bar, and make sure that it’s set to At Unnumbered Markers. Hit OK. Doing this will automatically lay out the clips in line with the music track.
2. Swap Clips
You can also adjust the position of the shots to align with the music track. To do this:
- Click and hold the clip that you want to move. Press Command + Option (or Control + ALT on a PC) and drag it to the location wherever you want to place it.
- It will automatically shift the clips, so you can avoid having to move each manually.
3. Replace Clip
You might want to replace a clip without losing any transitions and effects that you have applied on to it. This can be done with the help of a simple procedure:
- Click on the clip that you want to replace the old clip with. You can do this from the video section on the left side.
- Click it and drag, while holding Option (or ALT on a PC) on the keyboard and place it over the original clip.
4. Adjustment Layers
One of the perks of applying an adjustment layer is that when you apply an effect to this layer, it reflects itself on all the clips:
- To apply an adjustment layer, you have to be on your project window. File > New > Adjustment Layer > OK
- From the left window pane, move the adjustment layer to a new video track and drag it all the way till the end. This will apply the adjustment layer to every single clip.
- To apply an effect, click on Effects from the top menu and drag an effect to the adjustment layer.
We’ve got a whole tutorial on adjustment layers if you want to dive in deeper too!
5. A Better Ease In
You can enhance your video by adding an additional clip or a logo. You can play around a bit and place the logo over the clip you want it to appear.
- For a smoother transition, right-click on the Keyframe > Temporary Interpolation > Ease In.
Nice and easy, right? Premiere Pro is an amazing software that helps you edit your videos on the go — and we hope these tips will help you edit much faster and increase your productivity!


