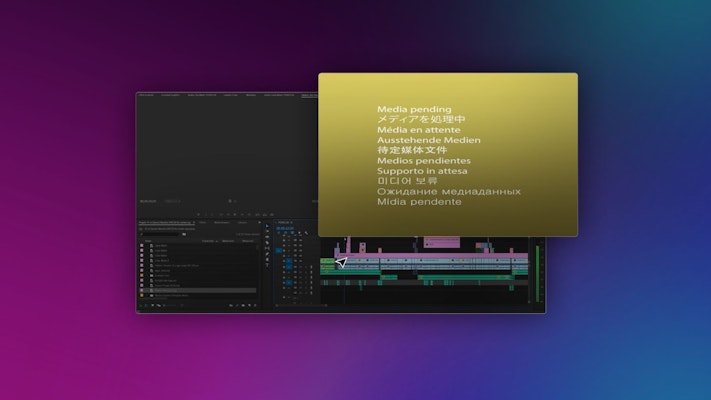
Let’s talk about media pending in Premiere Pro. That’s the annoying yellow box that just won’t leave you alone! If you find yourself with permanent media pending messages, it can slow down your editing process. There are a few ways to tackle this irritating problem, so let’s jump in and see how to resolve the Premiere Pro media pending error.
Summary
Part 1: How to resolve the media pending error
Let’s start by understanding what the media pending error in Premiere Pro is. You’re encountering the annoying little cousin of the red media offline error. Media offline suggests a clip is missing entirely, often because Premiere is looking for a deleted file or in the wrong folder. Media pending tells you something is bad in the data of your video files. If you’re getting other error messages, this list of common issues in Premiere Pro may help you.
Don’t worry, you’ll soon have 3 solutions to help you on your way.
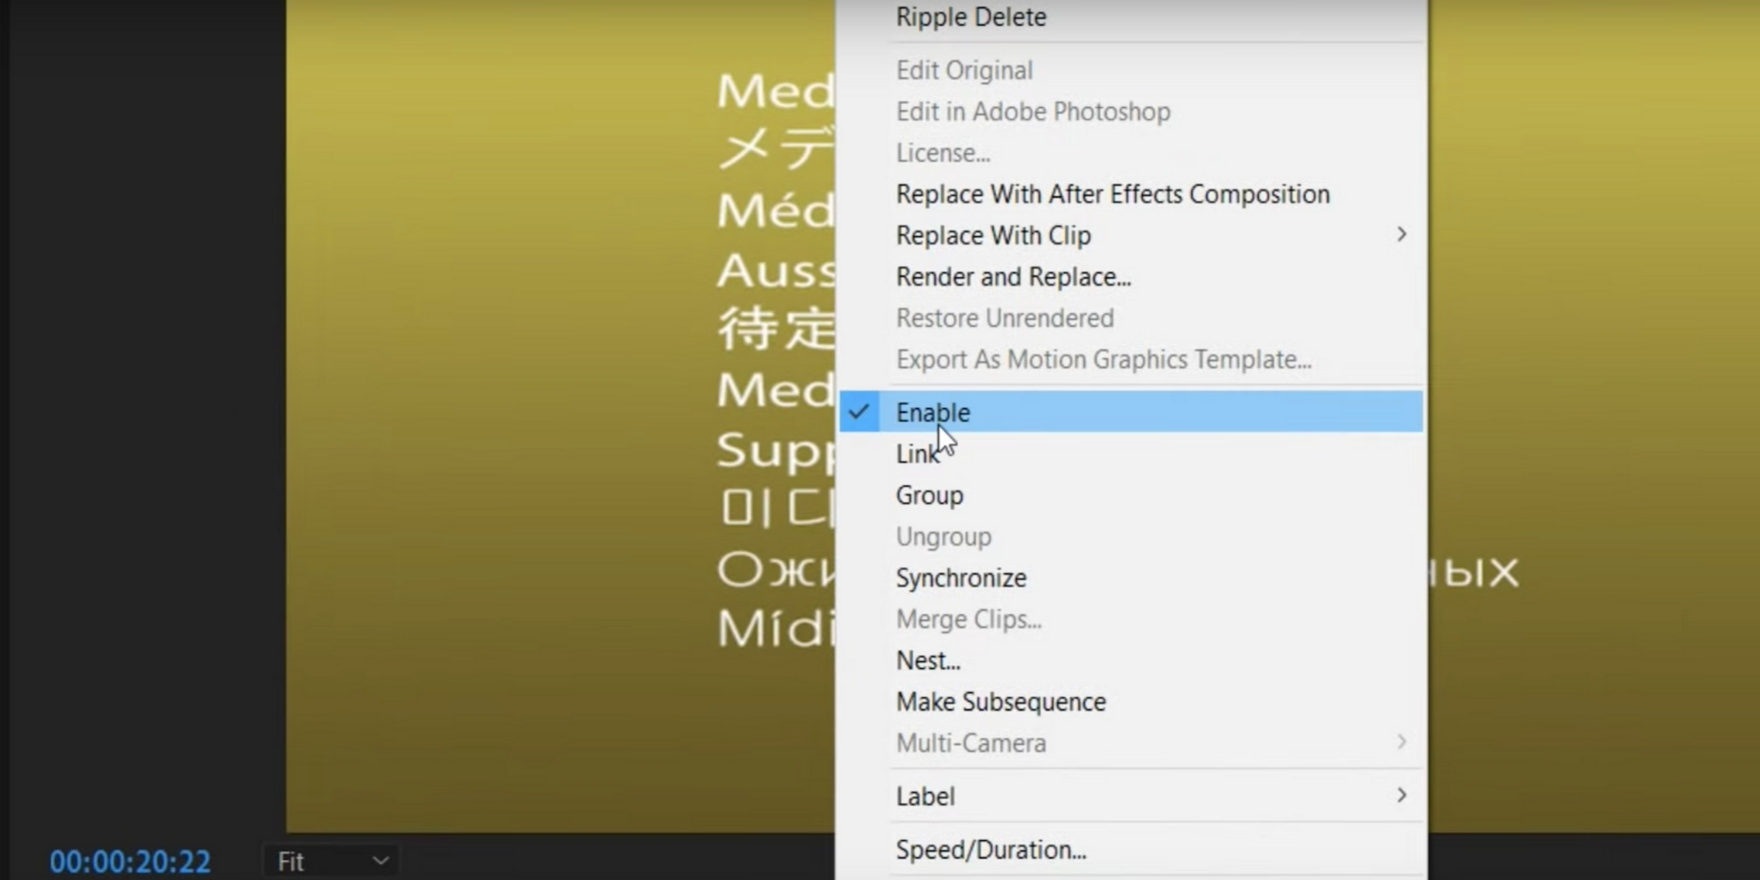
1. Disable, then re-enable
If you’ve got the Premiere Pro media pending error, try this fix first. It’s the quickest and should be your go-to solution.
- Place the playhead over the clip that’s displaying the media pending error.
- Highlight the clip by selecting it.
- Right-click on the click and uncheck Enable from the menu to turn off the clip.
- Then right-click on the clip and recheck Enable.
- You could also hit Ctrl+A or Cmd+A to select all the clips in the timeline and do the same thing, which will disable and re-enable every clip in the sequence.
Hopefully, this will do the trick. If not, there are some more options for you to try.
2. Add a cut
Sometimes, you must make a minor, noticeable change to the clip or the timeline to force Adobe Premiere Pro into action. Try making edits that have no visual impact on the video, like adding a cut:
- Place the playhead over the clip that shows the error.
- Hit Ctrl+K or Cmd+K to cut the clip.
- Or click on the Razor tool and click on any part of that clip.
- Keep the timing the same, and remember that the cut is there when you continue editing. You’re splitting the clip without actually moving anything.
This tiny tweak might be enough to get rid of that Premiere Pro media pending message. The fake edit forces Premiere Pro to reload and re-index the assets, solving the issue.
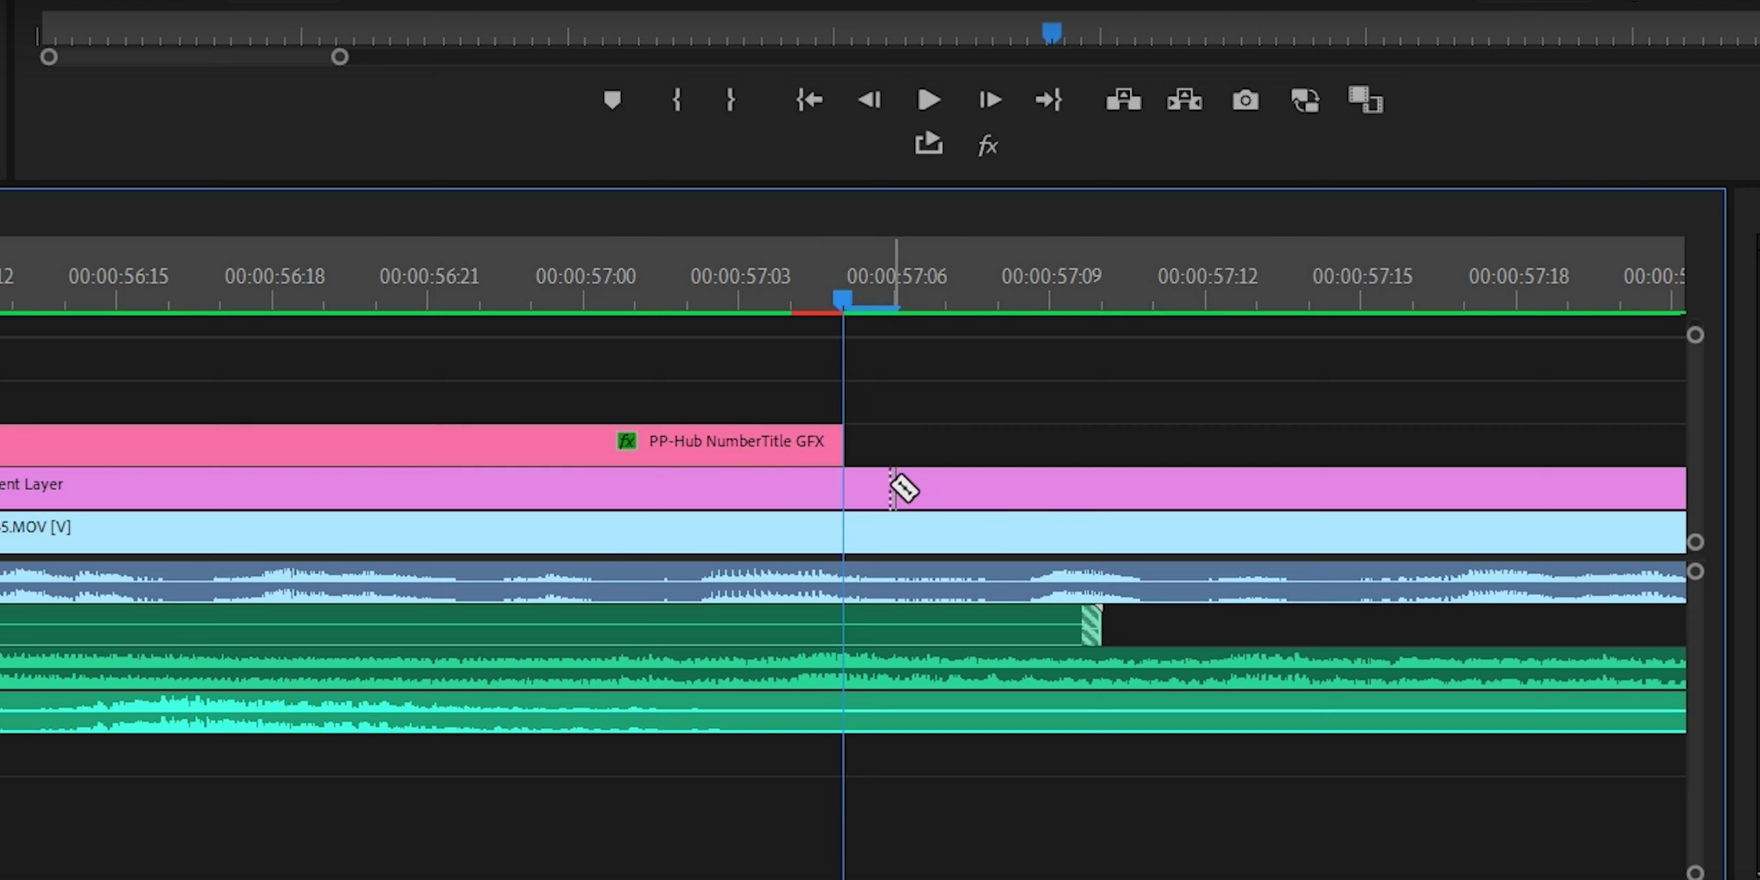
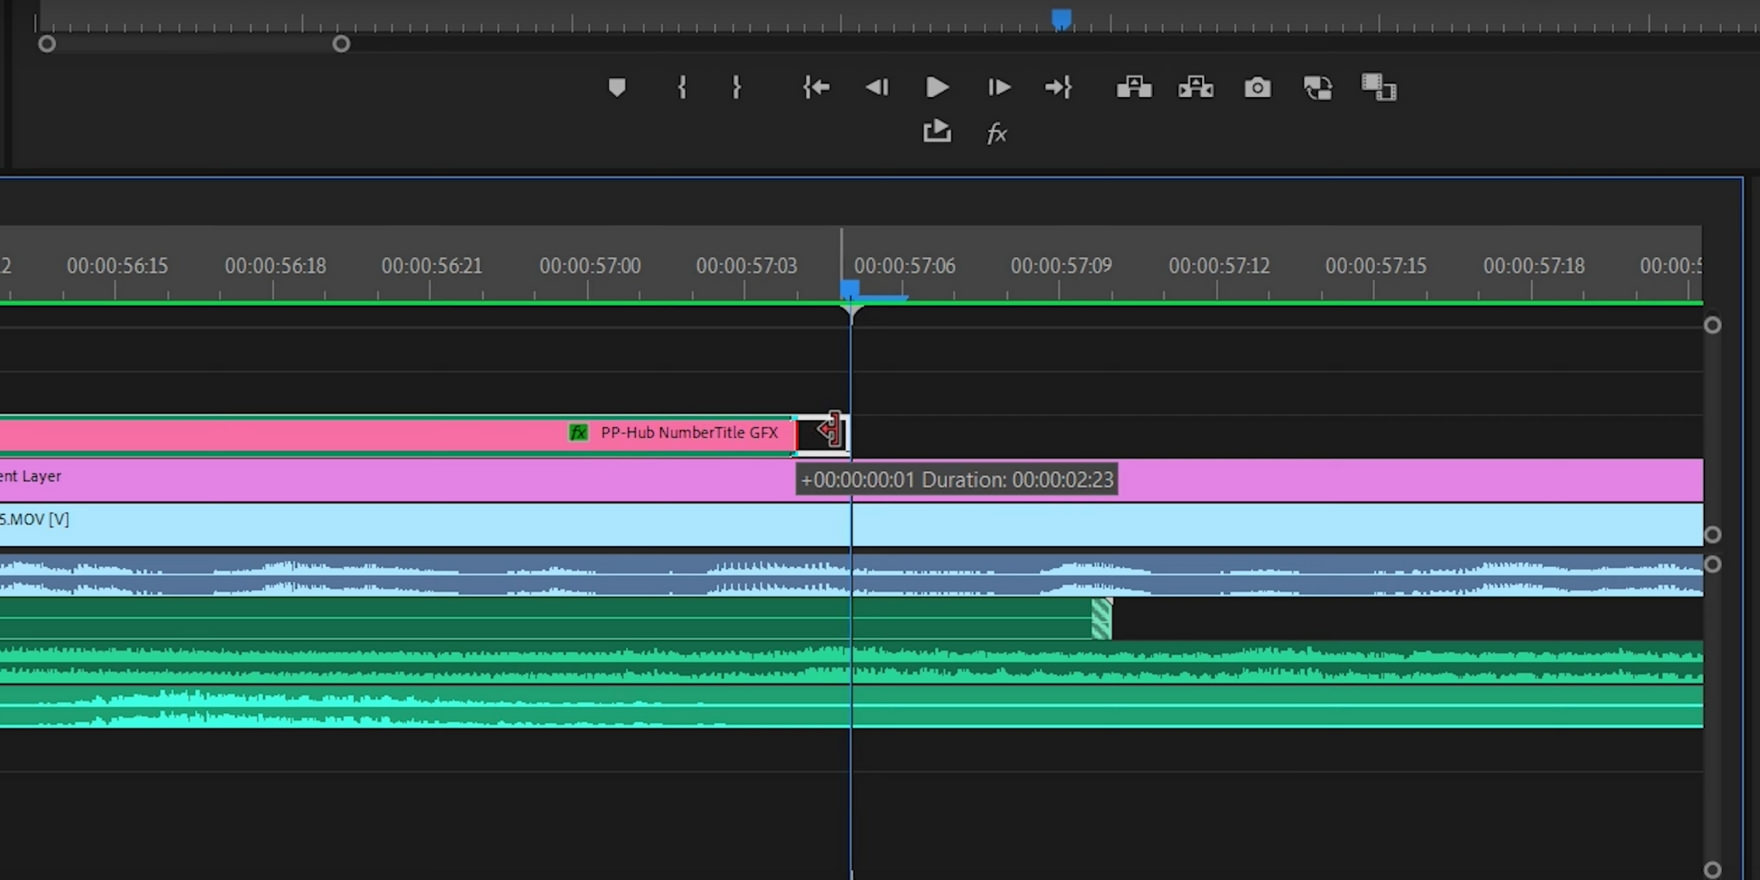
3. Adjust the duration by one frame
With this solution, you make very slight changes to your timeline by adding just one frame to your clip.
- Select the clip that shows the media pending error.
- Zoom into the timeline with Ctrl+ + or Cmd+ + and drag the end of the clip out by just one frame.
- Zoom back out with Ctrl+ –or Cmd+ – and try the clip again.
As with the other trick you just learned, this should remove the media pending in Premiere Pro message by forcing the program to ‘look’ at the video you’re using again.
Hopefully, that annoying nag box is gone for good from this project. How can you avoid seeing a Premiere Pro media pending message again? Below you’ll find some tips to help you keep this annoying error from happening.
Part 2: How to avoid the media pending error
These quick solutions are fine for single issues. However, to avoid them in the future, you need to identify the exact cause of the media pending error in Premiere Pro. These are common trouble spots:
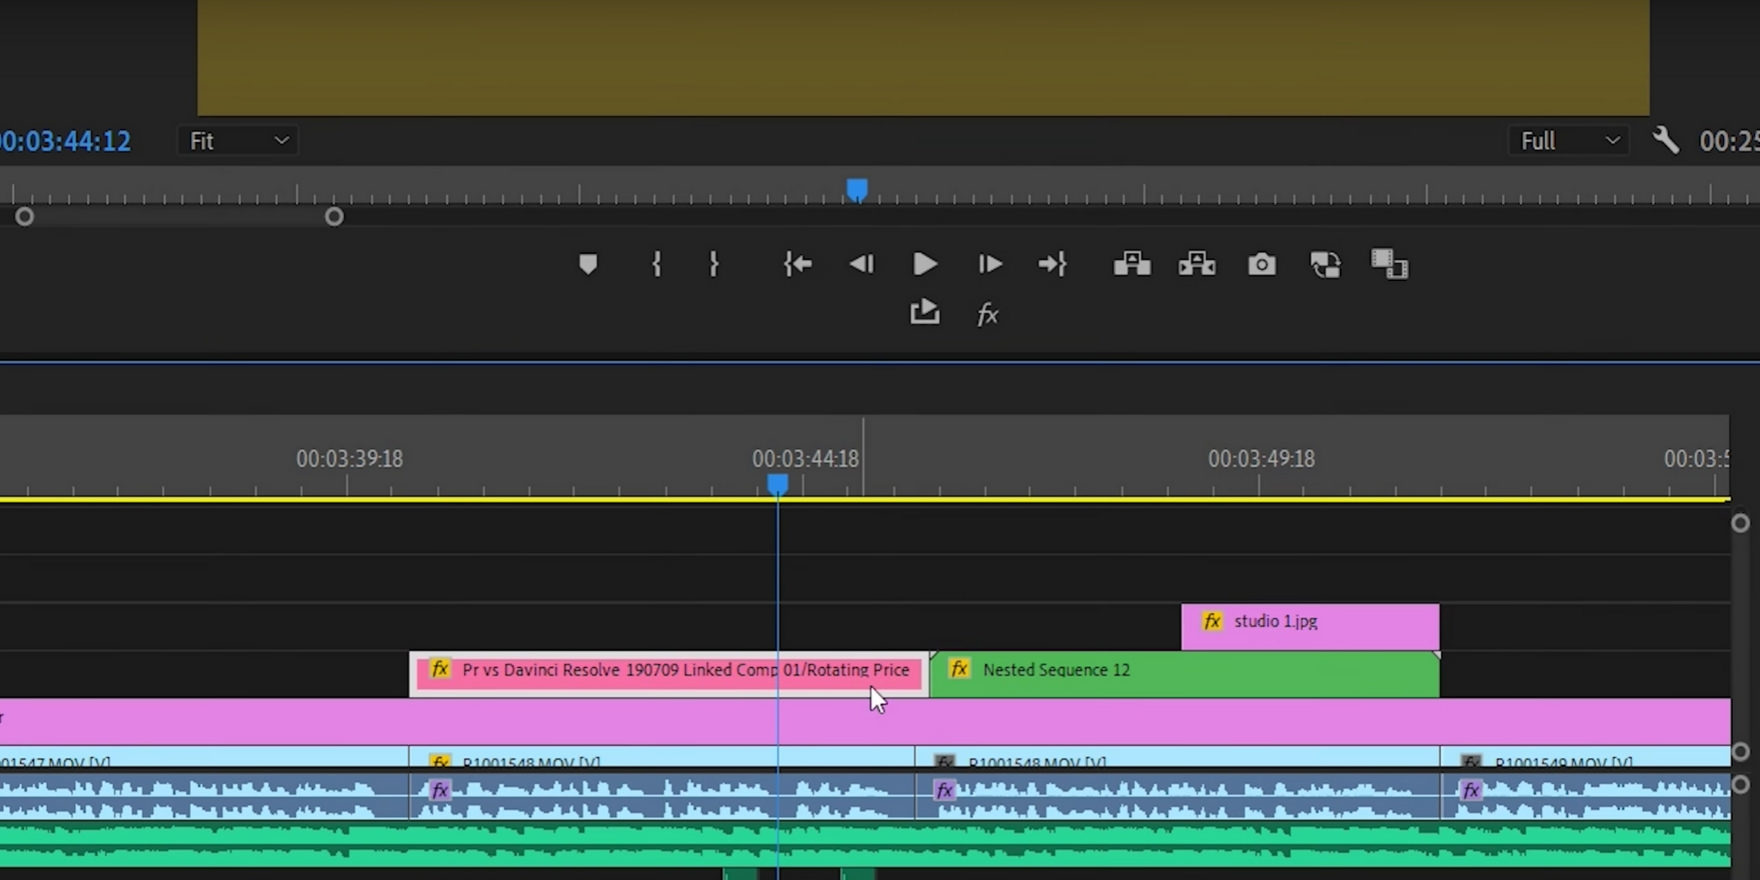
1. Dynamic links and nested sequences
The two most common issues are with dynamically linked footage and nested sequences. Look out for those in your timeline first.
- When you’re done changing dynamically linked footage, select Render and Replace to swap the project link for a rendered file.
- If you have nested sequences inside of nested sequences, try setting in and out points and exporting just that section.
- Re-import the exported file.
- Replace the nested sequence. It’s a fast and basic workaround, but sometimes you just need to hit your deadline. Get it done, then figure out the real cause later.
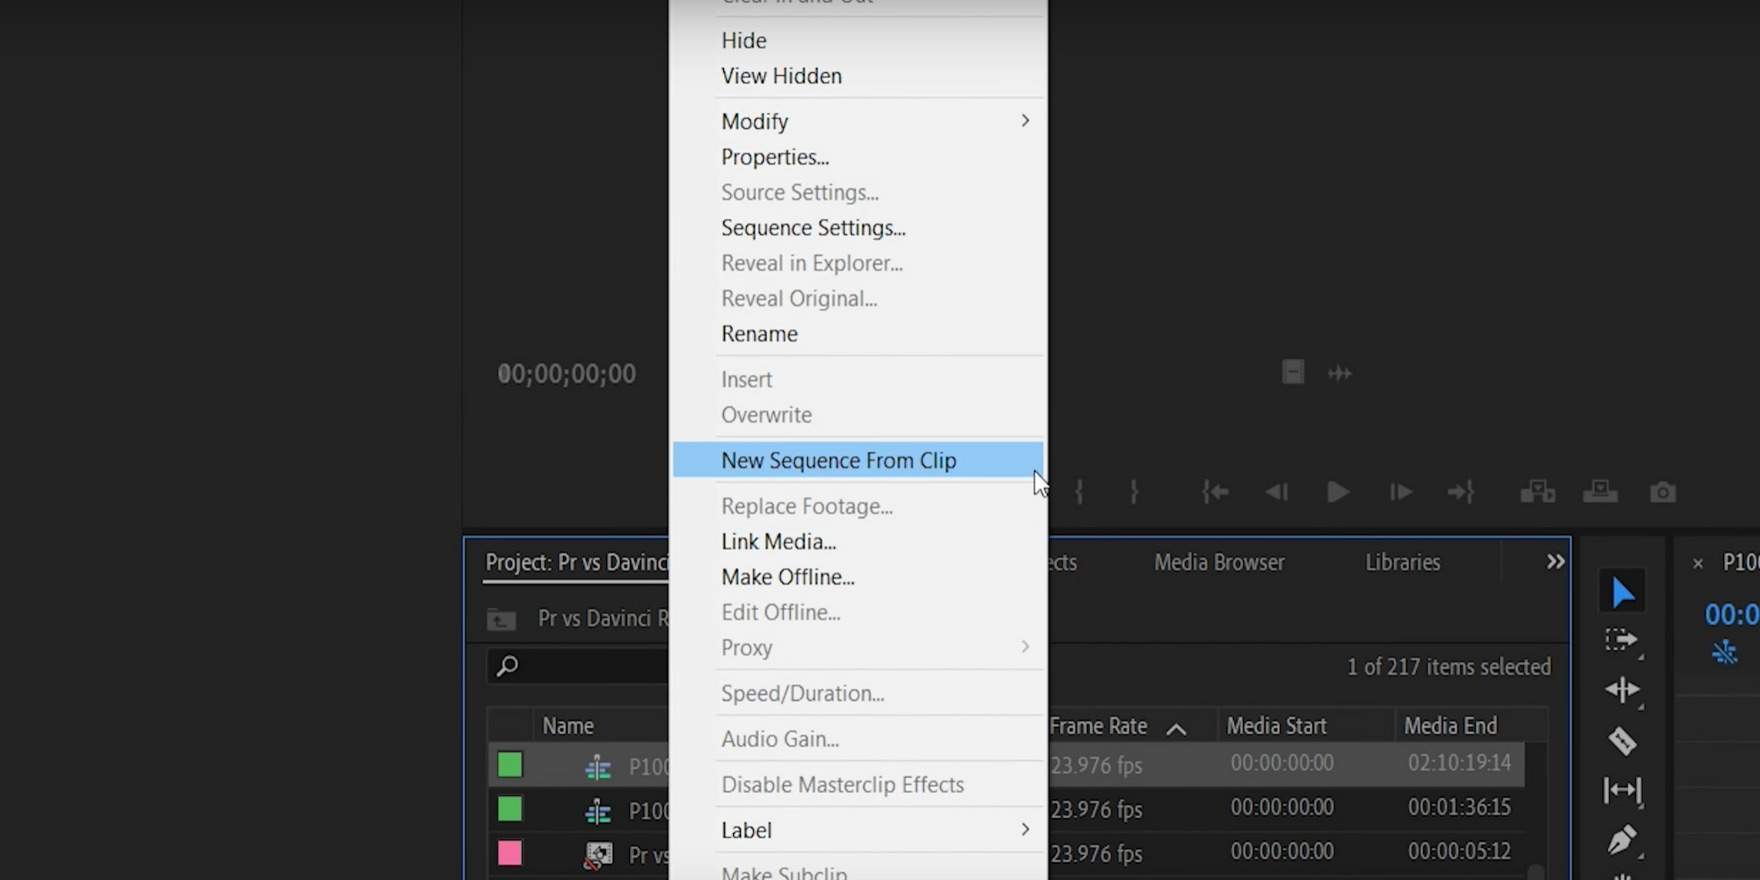
2. Replacing the sequence
Do you still need help? You could have a problem with the sequence rather than a particular clip.
- Create a new sequence to match the one you’re currently using. You can do this by right-clicking the sequence and selecting New Sequence from Clip.
- Use Ctrl+C or Cmd+C to copy all the footage from the Media Pending timeline.
- Use Ctrl+V or Cmd+V to paste it into the new sequence.
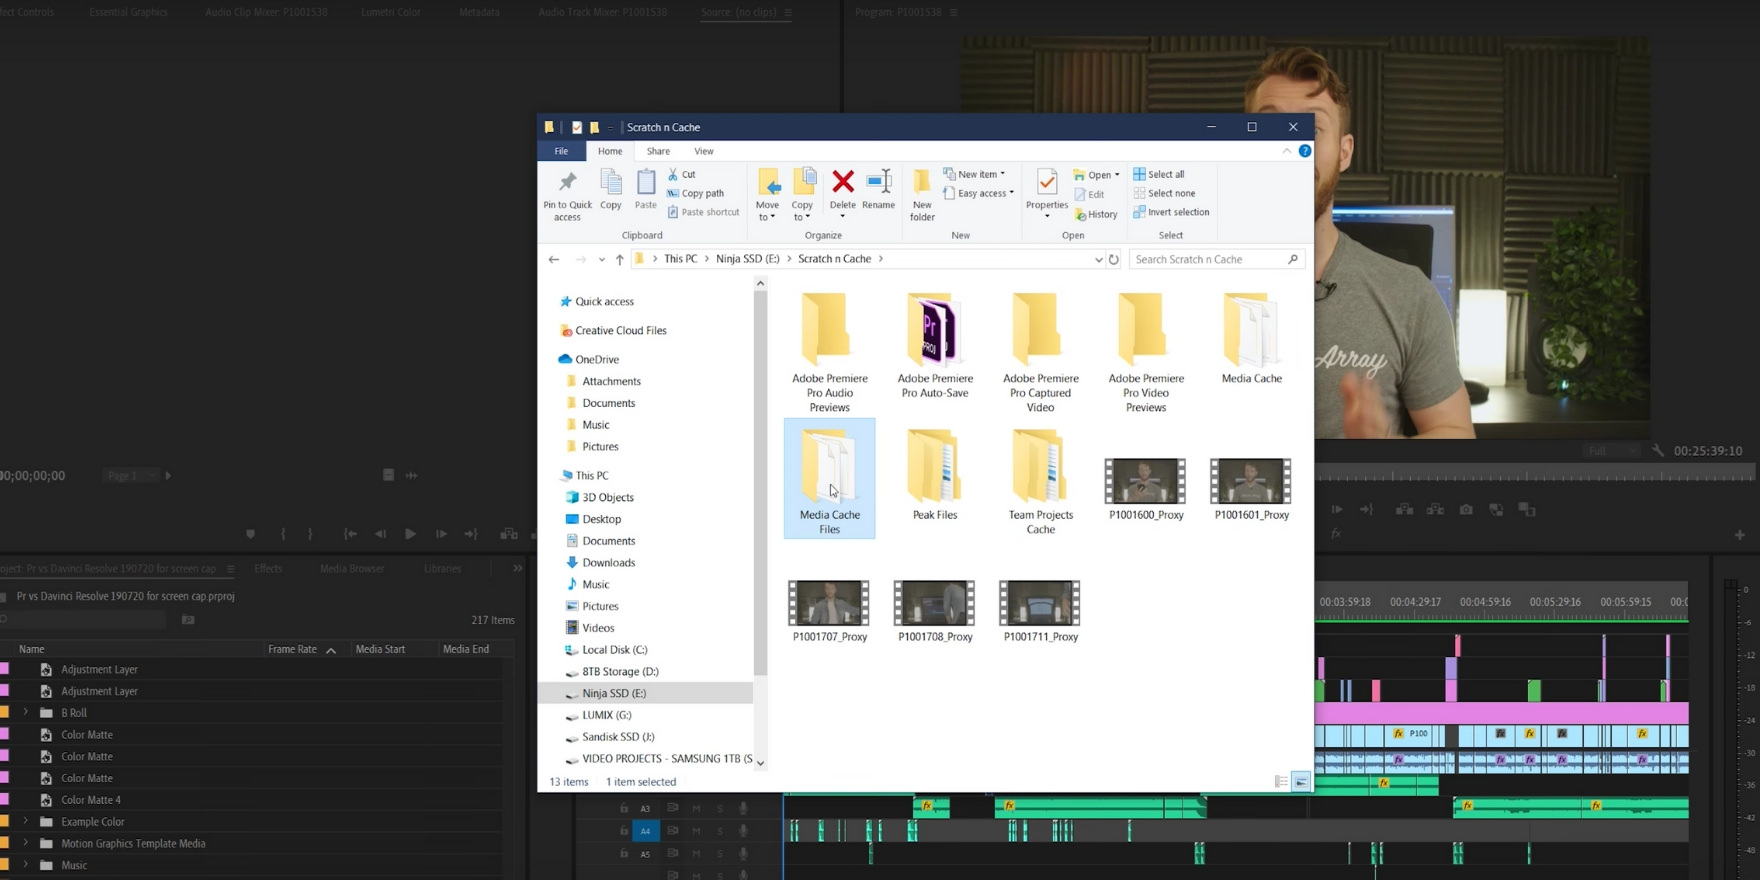
3. Deleting/removing cache files
Cache files and preview files are small files that Premiere makes to help the project run faster and smoother. Sometimes, the Adobe Premiere Pro media pending error comes from here. It’s possible that the cache was incorrectly generated. Let’s try deleting the cache in the back end of Premiere.
- To delete the media cache automatically, head to Edit > Preferences > Media Cache > Delete Unused Files.
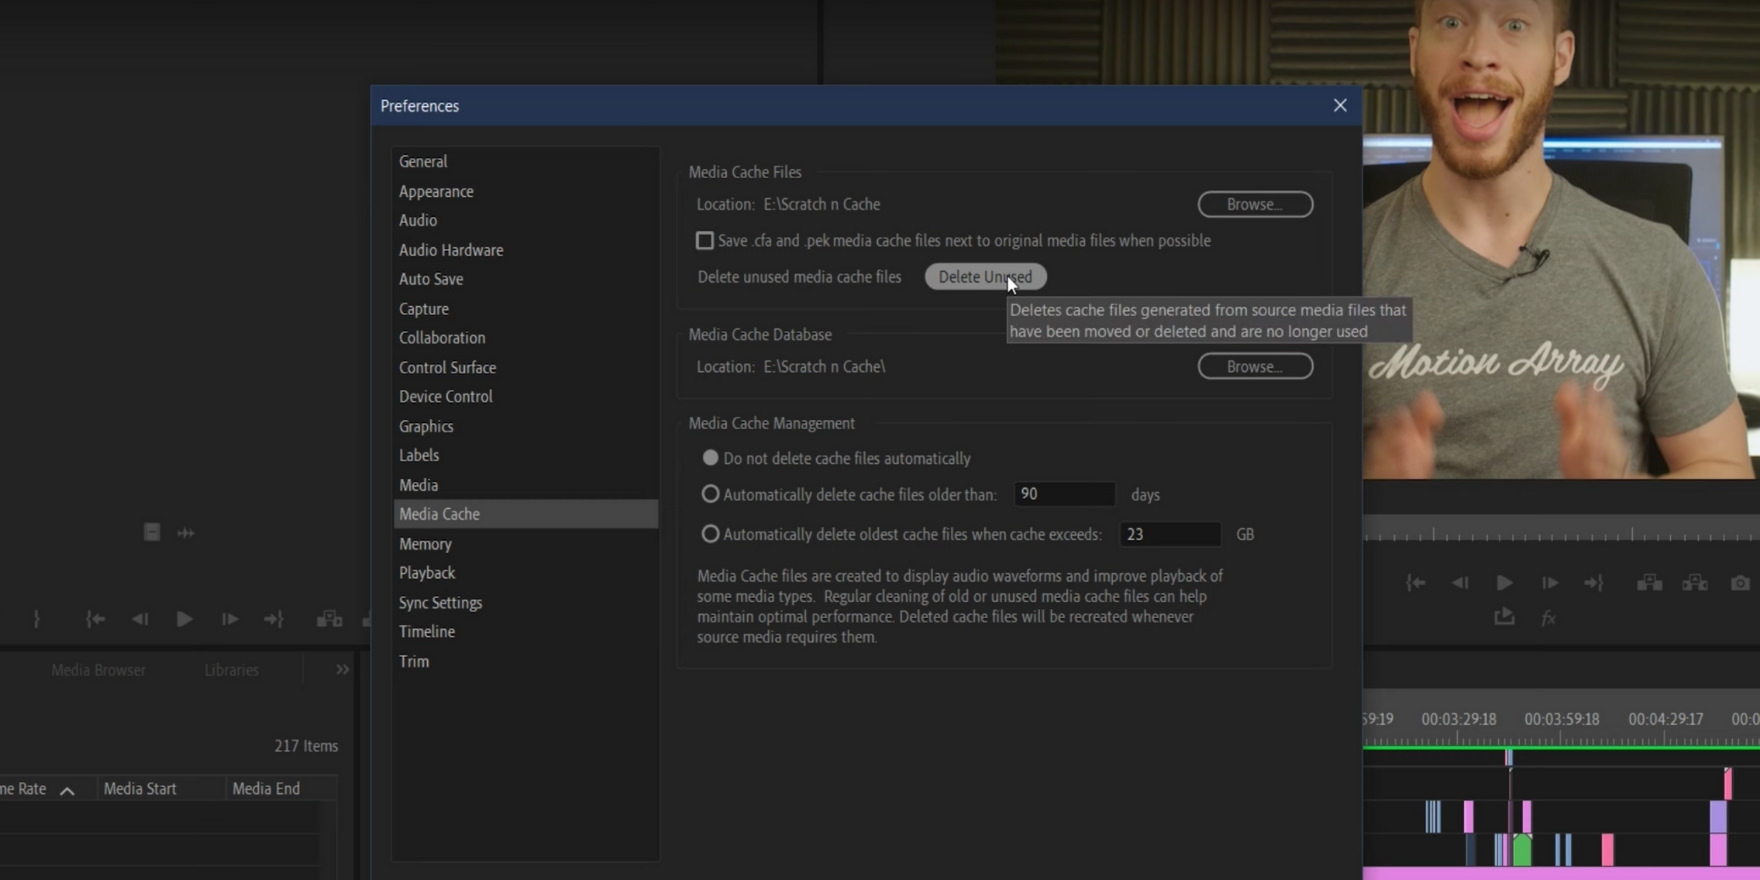
If this doesn’t help, other system cache files may be causing problems. Delete them yourself by going to your computer’s Media Cache Database location. These guides will help you find the cache file on Windows and Mac. These are usually clearly labeled in a cache folder.
- Close Premiere Pro.
- Manually select and delete all the files in the cache folder. Don’t worry about deleting the files, they aren’t important. Just be certain they’re cache files before you press delete.
- Re-open Premiere Pro.
Also, try storing the cache on a different hard drive.
- Head to Edit > Preferences > Media Cache > Browse and point it to your chosen new location.
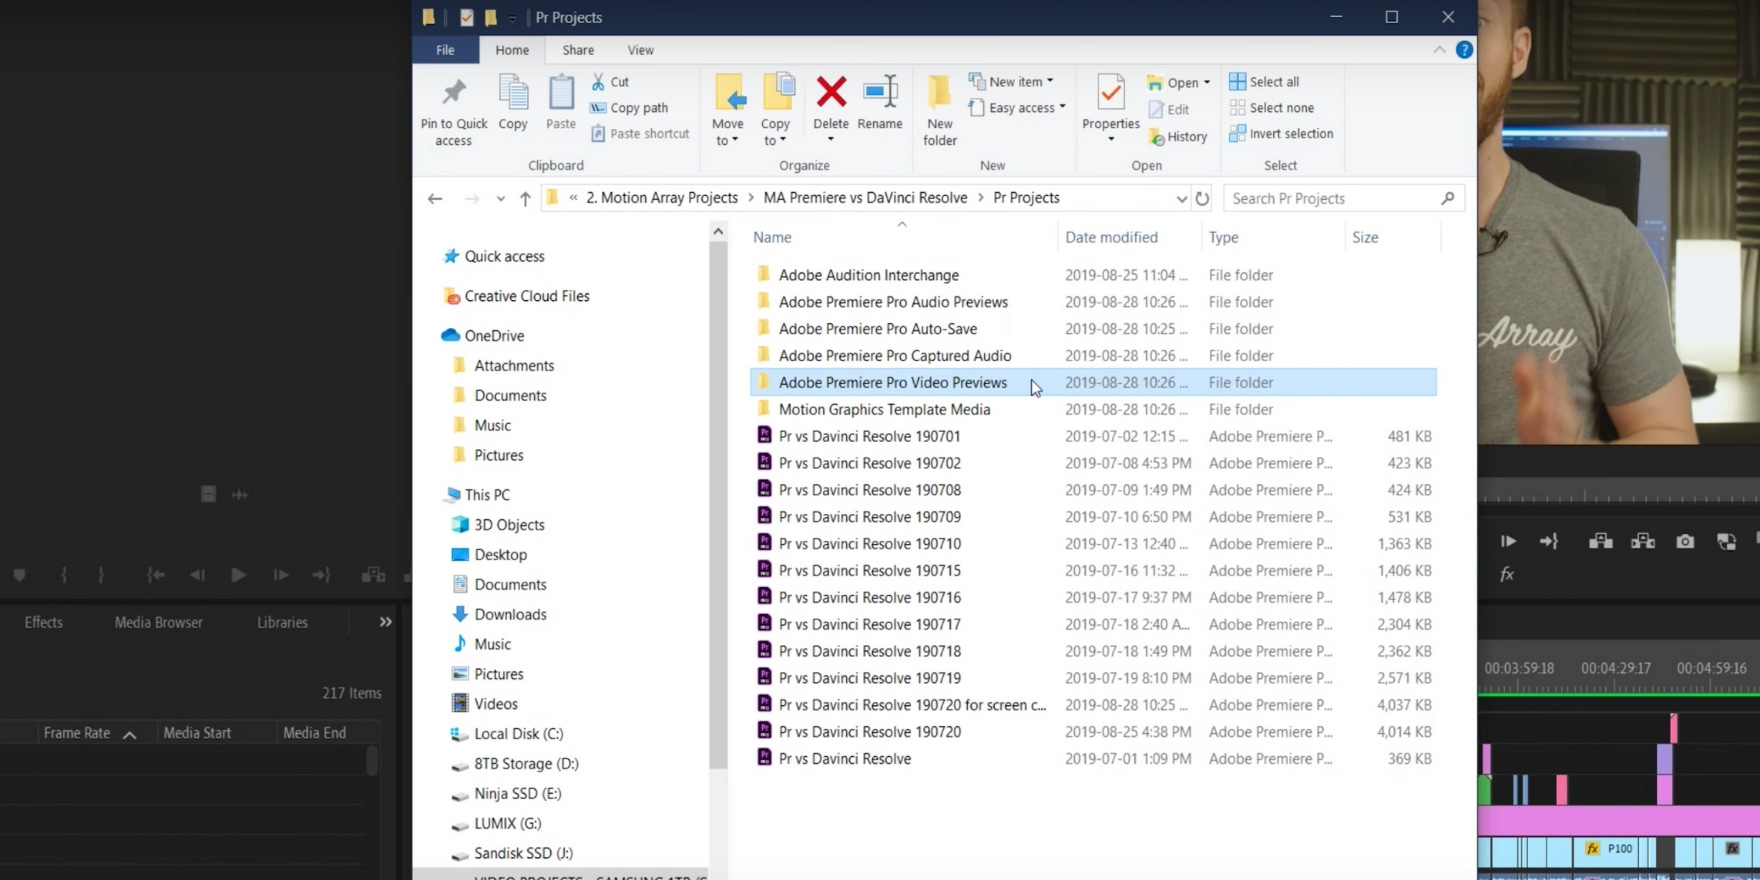
4. Deleting/removing preview files
Still no luck? Let’s take a look at the preview files. They can also be a source of the Premiere Pro media pending error.
- Close Premiere Pro.
- Find where you saved your project file, a .prpoj file.
- Find the Adobe Premiere Pro Video Preview folder, which should be in the same location.
- Delete the files inside that folder.
- Re-open Premiere Pro.
You should see the blue bar that says the preview files are being rebuilt. Hopefully, correctly this time.
So there you have it. You now have a few ways of fixing the Premiere Pro media pending error, ranging from a quick cut to a rebuild of the cache. Start with the quicker tricks first and work your way up as needed. The above guide will set you on your way to a successful project free of that annoying Premiere Pro media pending error message.