


Do you create a lot of captions, subtitles, or typography videos? Then, this is the tutorial for you. Today, Motion Array is going to show you the incredible automatic Adobe Premiere Pro transcription tools you can use. Let’s jump in.
Summary
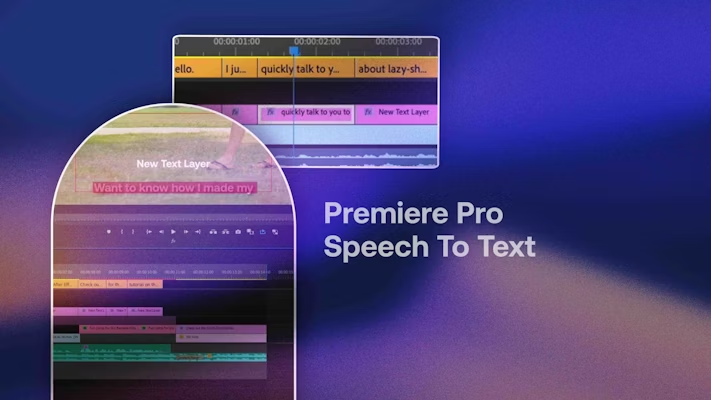
Part 1: Learn Adobe Speech-to-Text: A new feature in Premiere Pro
What is Adobe Speech-to-Text?
Adobe Speech-to-Text makes transcribing and captioning your videos in Premiere Pro easy. This AI-powered function will turn your dialogue and voice-overs into a time-coded text asset. Auto transcription with Premiere Pro is pretty accurate and will save you hours transcribing your subtitles.
What languages does it support?
Adobe Speech-to-Text already supports many languages, and updates are pretty frequent, too. Currently, you can create transcriptions from:
- English (both US and UK)
- Simplified and traditional Chinese (Mandarin)
- Traditional Cantonese
- Spanish
- German
- French
- Japanese
- Portuguese
- Korean
- Italian
- Russian
- Hindi
- Dutch
- Norwegian
- Swedish
- Danish
Adobe Speech-to-Text regularly expands its language packs, so check back often. Here’s a guide from Adobe on how to install language packs for Adobe Premiere Pro transcription.
Auto captioning vs. Adobe Speech-to-Text
Many content creators rely on auto-captioning by the host platforms. It works, but this removes a lot of your control. While you can edit the auto-captioning, you can’t adjust the style or layouts. Luckily, you have Adobe Premiere Pro transcription for that.
Adobe Speech-to-Text brings your captioning into the editing process. So you’ve all the control — with no laborious transcribing. You can still export your videos with the standard closed captioning options.
Part 2: Animate and use Premiere Pro Speech-to-Text captions
Before starting your project, you must ensure the system software and Premiere Pro are up to date, or the audio-to-text function may not work correctly. Adobe Premiere Pro transcription also uses AI software that needs an internet connection. Premiere Pro 15.4, 22.0, and 22.1 no longer support audio-to-text. You’ll need a later version.
How to generate captions
Generating your captions is straightforward, with most of the work done by Premiere Pro itself. It’s worth noting that the video length and the number of titles needed will dictate how long the transcription will take.
- Edit your video in the timeline until you’re ready to add your titles.
- Ensure the In and Out points in your timeline cover the full section needing titles.
- Go to Window > Text. Under the Captions file, hit Transcribe Sequence.
- In the Create Transcript box, choose the track your audio is on from the target drop-down menu.
- Select the language you want to transcribe, and click the Only Inside In and Out Points checkbox. You can also add multiple speakers here if you transcribe more than one person.
- Once you’re happy with the settings, click Create and wait for Premiere to transcribe the video.
- Look through the transcribed text. Double-click on any elements that need editing to adjust the titles manually.
- When you are happy with the transcription, click the Create Captions button at the top of the Captions panel.
- In the pop-up box, select Create Captions from Transcription and any other settings you wish to use.
- Hit Create, and your captions will be added to the timeline.
- To change the style of your captions, highlight all of the captions in the timeline.
- Go to the Effects Controls panel in the Essential Graphics tab. Here, you can alter the captions’ Font, Weight, Size, and Style.
Turn transcription into title boxes (short videos)
Captions are fantastic for subtitles, but occasionally, you’ll want to add more excitement with your audio-to-text transcription. Unfortunately, you can’t add transitions and effects to your captions, but you can quickly turn them into title boxes.
- Add a new Text layer using Cmd+T or Ctrl+T, and stretch it to the same length as your captions.
- Highlight the layer and go to the Essential Graphics tab, then center align your titles vertically and horizontally.
- Using the Blade tool, make cuts to the Title layer at the same point as the cuts in your captions.
- Double-click the first caption, and in the Essential Graphics Edit panel, double-click the text box to highlight your title.
- Hit Cmd+C or Ctrl+C on your keyboard to copy the text.
- Double-click the Title layer section in the timeline, then again in the Essential Graphics Edit panel.
- Press Cmd+V or Ctrl+V to paste the title, then go through each title, copying and pasting the text to your new layer.
Turn transcription into title boxes (long videos)
It would take a long time to copy and paste the titles for longer videos, so let’s show you a quicker way. This method requires converting your captions file using a third-party website. This tutorial uses Transcribe Files, but there are other alternatives for you as well.
- Go to the Text section once you have your completed transcription and captions.
- In the top right of the panel, select the three dots and choose Export as SRT.
- Name the file, choose a location, and hit Export.
- Go to your preferred conversion website and upload the SRT file. Choose convert to Final Cut Pro XML.
- Download the XML file and import it into Premiere. It will appear as a sequence with all your captions as title boxes.
- To add the titles to your video, copy and paste the XML sequence and turn off the captions layer.
Part 3: Captions troubleshooting and tips
Audio-to-text captioning can occasionally go wrong, so let’s finish up with a few tricks and tips to help you out when the unexpected happens.
Best possible audio
When you create captions for your videos, remember that the transcription quality depends entirely on the quality of your source audio. Adobe Premiere Pro transcription is robust and pretty accurate, but it has to ‘hear’ the dialogue.
Here are some tips to improve video audio while recording. There are also options to improve pre-recorded audio. You can even record audio directly in Premiere Pro!
Check your transcription
As good as the Adobe Premiere Pro transcription with AI is, it isn’t perfect. As with all automated transcription services, it can run into trouble with names, places, and brands.
Check any text elements that might have unique spelling or pronunciations. Luckily, Adobe is also actively working on its AI integration, so it’s regularly updated.
Add pauses manually to your transcript
Once you create your transcript you can make manual changes, including adjusting the text and adding pauses. If you find that the timing of your transcription is a little off, try adding pauses to instruct Premiere Pro to leave space when adding the captions.
Replace fonts in projects
Sometimes, when you import an SRT file, the font changes. There are multiple reasons for this. The most common issue is that the font needs to be installed on your device before it can be used. Go to Graphics > Replace Fonts in Project for a quick fix. Choose the fonts you’re changing from and to, and Premiere will update the whole project.
Modify attributes
While you can adjust the attributes of your captions after creating them, it can be tricky. The best way to generate your ideal audio-to-text captions is to use the Create Captions dialog at the start. You can adjust everything here, including maximum characters per line and single or double-line options.
Captioning used to be laborious and time-consuming, but Adobe Speech-to-Text tools have solved this headache. To further expand your Premiere Pro knowledge, why not check out this handy tutorial on adding subtitles?


