In this tutorial, you’ll learn about Adobe Premiere Pro’s motion graphics capabilities, including how to install motion graphics templates. These third-party templates can enhance your projects, create visual interest, and keep your audience engaged and watching closely.
But first, it’s essential to understand how to use these new templates to maximize their impact. Don’t worry, it’s pretty easy, and you have Motion Array to help with tips, tricks, and smart ways to put motion graphics to work for you.
Summary
Part 1: Downloading and installing motion graphics templates
Hundreds of motion graphics templates are available online, so there are plenty to choose from. Catalogs like Motion Array allow you to narrow this overwhelming amount to just those that interest you. For example, you can search for motion graphics templates for Premiere Pro if that’s the program you’re using. That way, you won’t have to wade through other programs and irrelevant content to find what you want. Also remember that great videos start with great footage, so you need to plan ahead. No matter how cool the motion graphics you apply are, you still need a high-quality film to work with or the results will fall flat.
The file type for motion graphics templates is .MOGRT, so make sure anything you download is using the correct format. Otherwise, you may have mistakenly downloaded a preset or plugin with similar functionality.
- Find a template you like, download it, and open the .zip folder.
- Open Premiere Pro and start a New Project.
- On the top menu bar, click the Graphics tab and go to Install Motion Graphics Template.
- Navigate to your downloaded .MOGRT, select it, and click Open.
- Your preset will now be installed in your Essential Graphics tab.
If that seems suspiciously easy, it is! Adobe Premiere Pro motion graphics templates are very simple to install. Their real power lies in the editing options they open up for you. Follow along on the video below if you need to and, if you’re still struggling, try this dedicated tutorial on installing motion graphics templates in Premiere Pro.
Motion graphic design is currently in high demand in a lot of industries, including game design, so learning to work with templates is a smart idea. Who knows, you may soon be designing your own to share or sell!
Part 2: Adding and customizing motion graphics templates
The Essential Graphics tab contains all of your templates. Once you install a motion graphics template, you’ll see a list of your templates here. It’s also where you’ll see the customizations for each design. If you can’t see the Essential Graphics tab, go to Window > Essential Graphics to enable it.
If you regularly use templates, you can also set keyboard shortcuts for Premiere Pro. These will help you access common menus faster, and you can even customize your own shortcuts.
Step 1: Adding a motion graphics title
The very first step will be adding your motion graphics title to the project. It works very similarly to other effects, layers, and presets you may have used. Here’s what you should do:
- Open the Essential Graphics tab and go to the Library menu.
- Search through the presets until you find one you like.
- Drag it to the timeline and position it above your chosen footage or background.
- Drag the ends of the template to shorten or lengthen your title.
When you add a title, there will be generic text in the design that you need to change to your message. While many templates allow you to adjust the text box size, you should always try and find a design that uses a similar number of words. You can’t squeeze a whole paragraph into a text box designed for a few words.
- Select the title in the timeline and go to the Essential Graphics tab; click the Edit tab in Essential Graphics.
- Each text box will be numbered based on the order in which it appears in the template.
- Go through each title box and adjust the text to your messaging.
- You can change the font and weight of your title as you like.
Step 2: Customizing the titles
Motion graphics title templates all have different customization options, and it can take a while to find one that does everything you want. So, it’s always worth exploring template customizations, as they can dramatically change the look of the preset. You can also explore Motion Array’s other Premiere Pro tutorials for more inspiration and fun things to do with titles.
In general, to customize motion graphics templates in Premiere Pro, there are just 2 easy steps:
- Select the .MOGRT clip in your timeline.
- Go to the Edit tab in the Essential Graphics panel.
Depending on the template, you can modify properties such as:
- Text: Change the wording, font, size, and alignment.
- Colors: Adjust colors for text, backgrounds, or other elements.
- Position and Scale: Reposition the graphic or resize it.
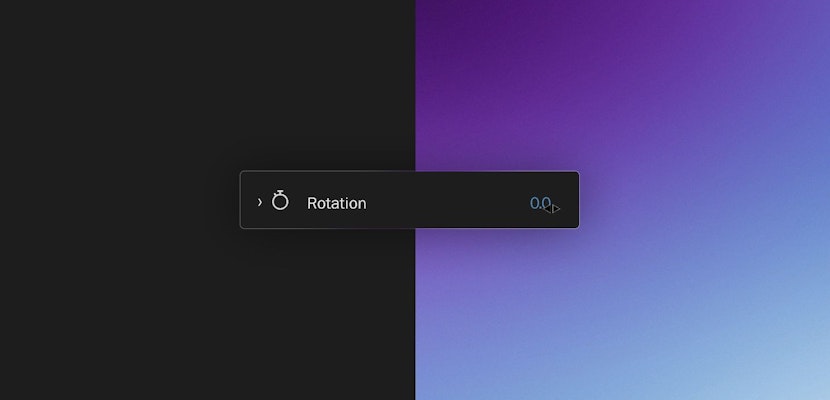
- Animation Controls: Some templates allow you to tweak animation speed, direction, or style.
This will help you create a personalized project that better fits your needs. You can even make animated text to use if the template supports it.
There you have it! A simple title customization for your motion graphics template in Premiere Pro. You can use the same concept to customize and adapt any template you like to better suit your video. Many editors also use After Effects to unlock more editing options and effects.
Step 3: Customizing the look (and anything else)
Changing the title message is the most basic customization any Adobe Premiere Pro motion graphics template allows. Still, many have advanced options that allow you to create a much more unique look. Below, we’ll walk you through some options to customize your colors. Remember, this all follows the same basic principles as above.
- Scroll through the Essential Graphics Edit tab to look at the options.
- Use Scale controls to increase the size of elements in the template, including the overall size of the graphic.
- Select the Color Boxes and adjust the colors used in the design. These are usually named after the elements used, such as Title 1 Color or Box Color.
- Play around with the Customization controls to learn what they do.
In the video below, we further explore how to import and customize motion graphics templates to help you better understand how to use these features in Premiere Pro. You can find plenty more helpful videos on Motion Array’s YouTube channel.
While the basic principles will remain consistent, each individual template will look different and include different customization functions. So, be sure to explore and experiment with the motion graphics templates in Premiere Pro to gain a better first-hand understanding of how they work.
If you have any questions, you can reach out on one of our social media channels (Instagram, X, or Facebook). Motion Array loves hearing from happy fans!